A boat spends the most of its existence floating in water. Water is a good friend but a terrible enemy, there is always the possibility of the boat overflowing. Learning how to build a wooden boat watertight is vital.
Building a wooden boat is a great way to enjoy the water, but it’s important to take care when building it to ensure that it stays watertight. This article will show you how to make a wooden boat watertight by using simple techniques and materials.
What is Watertight Mean ?
The term “watertight” refers to the restriction of water from flowing in any direction. Water tightness is required for the hull, main deck, and bulkheads separating watertight compartments.
Importance of watertight a boat
Normal watertight seal is between two compartments below the waterline. These compartments must be resistant to high water pressure, which is common following a big water leak. The leak will not spread due to the watertight seal, and the vessel will remain afloat. Classification is frequently required since the watertight seal is so crucial to the boat’s safety. Consider a boat that becomes stranded or collides with another boat while in rough seas. In such situations, the importance of having a watertight system cannot be stressed.
Watertight closure
Several discharges run through the hulls of most boats. Each ought to have a stop valve. Watertight closures in pilothouses, holds, doors, hatches, hatch covers, portholes, vents, bulkheads, and lazarettos are among the list. These closures are made to maintain their watertight integrity during severe circumstances.
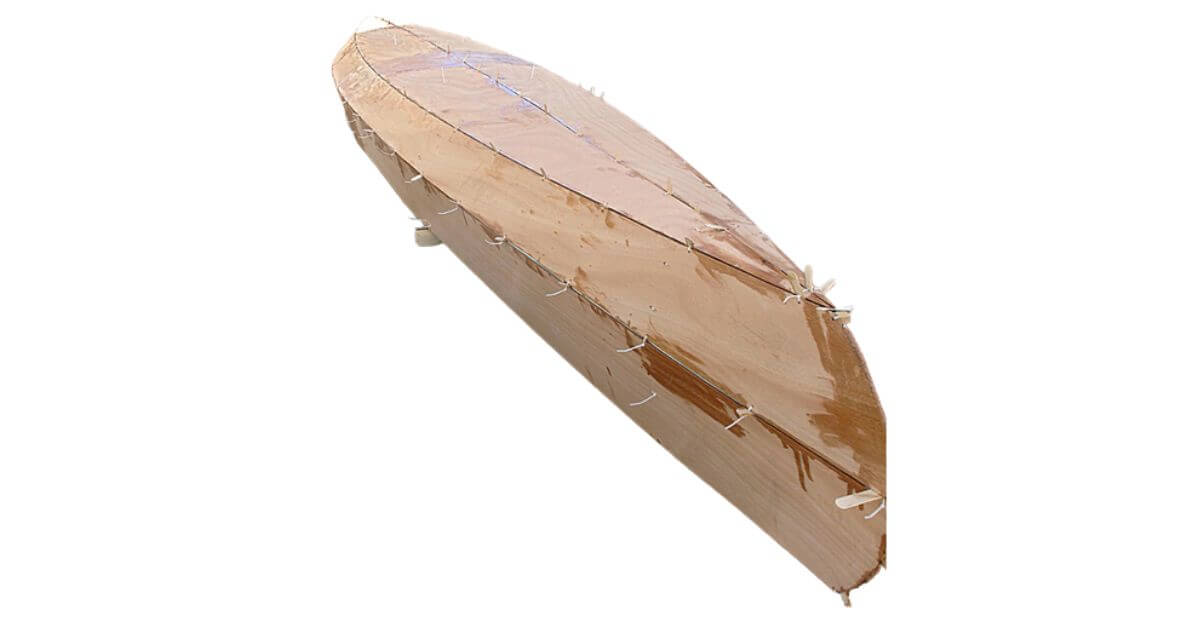
Hull Watertight
The primary purpose of planking in a wooden boat or FRP laminate is to keep the inside dry. The hull is made up of structural framework and the external covering. The frame is typically built upside down. This method produces a superior weld and hence enhanced water tightness since all welds are ‘downwards.’.
Openings in Watertight Bulkheads
Waterproof bulkheads may require openings to allow pipes or electrical wires to pass through, but additional steps are taken to keep the bulkhead watertight. To a bulkhead, all pipes must be waterproof flanged. The valve for filling the tank on the other side of the bulkhead is located on the left line. This valve could be controlled by a spindle that rises up to the main deck. Doors must be operable from both sides of the bulkhead.
Hull and Deck Openings
If the wave sweeps over when hatch is open less water will be able to enter the ship. Therefore hatchways must have high coaming that depends upon the boat’s height.
Ventilators and Ventilators
They must be a minimum height above the deck and watertight. Metal flaps or, in smaller boats, wooden plugs and canvas coverings may be used. When exposed, air pipes should be of a sturdy design and equipped with a waterproof closing mechanism if the bore diameter is greater than 30 mm
Side Scuttles (portholes)
All portholes beneath the main deck should have watertight hinged metal coverings (deadlights)..
Waterproof Door Open Alarm Switch
The trip switch, which will sound an alert if the side door is opened while at sea. Scuppers, Inlets and Discharges
Weather Deck Drainage Arrangements
Weather decks must include freeing ports, open rails, or scuppers that can quickly drain all water from the deck in any weather.
Upkeep of Watertight Integrity
Watertight integrity can be compromised by any activity that permits water to enter undesirable sections of the boat.
- Neglect of seals, screw threads, and other locking mechanisms
- Collision, grounding, or extreme weather damage
- Leaving vents, hatches, and doors open.
- Blocked scuppers or ports.
- Metal vessel weld cracks or caulking loss from planked joints.
- crew member ignorant of every closed closure
- improper waterproofing
Even if you choose high-quality marine wood, be sure to waterproof everything, including the screw holes and wood, for long-term durability. Waterproofing protects wood against UV, humidity, and water damage.
How Are Wooden Boats Waterproof
Before you begin the waterproofing procedure, you must have all of the necessary tools. Waterproofing supplies include:
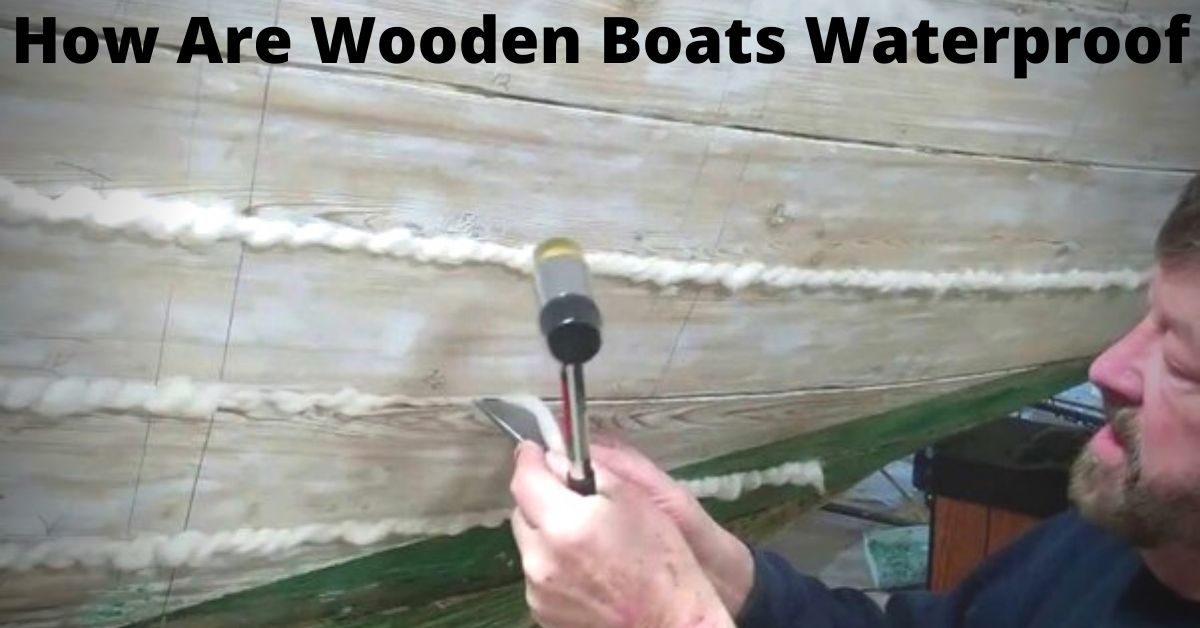
Step 1. Prepare the surface of the boat.
Before painting your boat, it’s important to fix any flaws in the surface. Sand the boat with low-grit sandpaper to get rid of any stray wood pieces. Begin with 80 or 100-grit sandpaper. Sand the wood surface of your boat starting from the inside out..
Step 2. Clean the boat.
Sanding the surface creates dust and debris that prevents the epoxy coating from effectively sticking to your boat—- wipe it with a cloth.To blast particles off use a power washer. Thoroughly dry the surface. For next step.
Step 3. Apply the first coating of sealant.
Begin applying the first layer of epoxy. If you cleaned your boat in Step 2, wait at least 12 hours before applying epoxy.Apply sealer in a methodical manner, Most products require four to twelve hours between layers before applying the next..
Step 4. Apply succeeding sealant layers.
Your boat needs more coats of marine waterproofing wood treatment or boat wood sealer the more layers it has.
Before applying each subsequent layer, the surface must be sanded. Sanding the surface improves sealant adherence..
Step 5. Wrap it up.
Dip the brush in paint and apply it to the inside and outside surfaces of your boat. You’ll want a nice finish to make your sailing experiences worthwhile.
You will be glad for all your hard work once you finish the waterproofing process on your boat.
How To Waterproof Plywood For Boat
There are various techniques for making plywood waterproof, but one of the simplest is to apply a waterproof paint or sealer. Here are the actions you can take to ensure that your plywood is properly waterproof
Step 1. Apply a Wood Filler
This substance covers any gaps in the plywood, allowing for easy and successful sealant application.To improve quality, use the filler with a hardener.
Step 2. Sand Down the Plywood
For uniform application, sanding removes the outer layer.To ensure that the wood is suitable for sealing, sand both sides and pay close attention to the edges.To smooth any roughness from the wood’s surface, use 80-grit sandpaper.
Step 3. Clean the Surface of the Plywood
Rub the plywood with an acetone-soaked cloth.You can also clean plywood properly with water. Clean the wood with a towel to remove any leftover particles.Allow the wood to dry fully before adding a sealer.
Step 4. Apply a Wood Sealant
Water won’t harm the plywood, thanks to a wood sealer.Before placing any material on top of a waterproof wood sealer, allow it to cure for at least 24 hours.
Step 5. Use Clear Epoxy to Coat the Plywood
The finest substance to use with plywood is clear epoxy since it can permeate the board deeply. After soaking a foam brush or roller in epoxy, distribute it evenly in one layer.Epoxy dries quickly, so don’t apply another coat until the first one is totally dry.
As a general guideline, use as many layers of epoxy as there are layers of plywood. To aid application, gently sand the surface between every two coats.
Step 6. Apply a Spray-On or Paint
Saturate the brush and apply the sealant to both sides and edges. After the first layer of weatherproof paint has dried, apply a second layer. Use a waterproof spray in a similar way. This spray-on paint allows water to run off the surface of the wood. It won’t rot or degrade since it doesn’t get inside the wood.
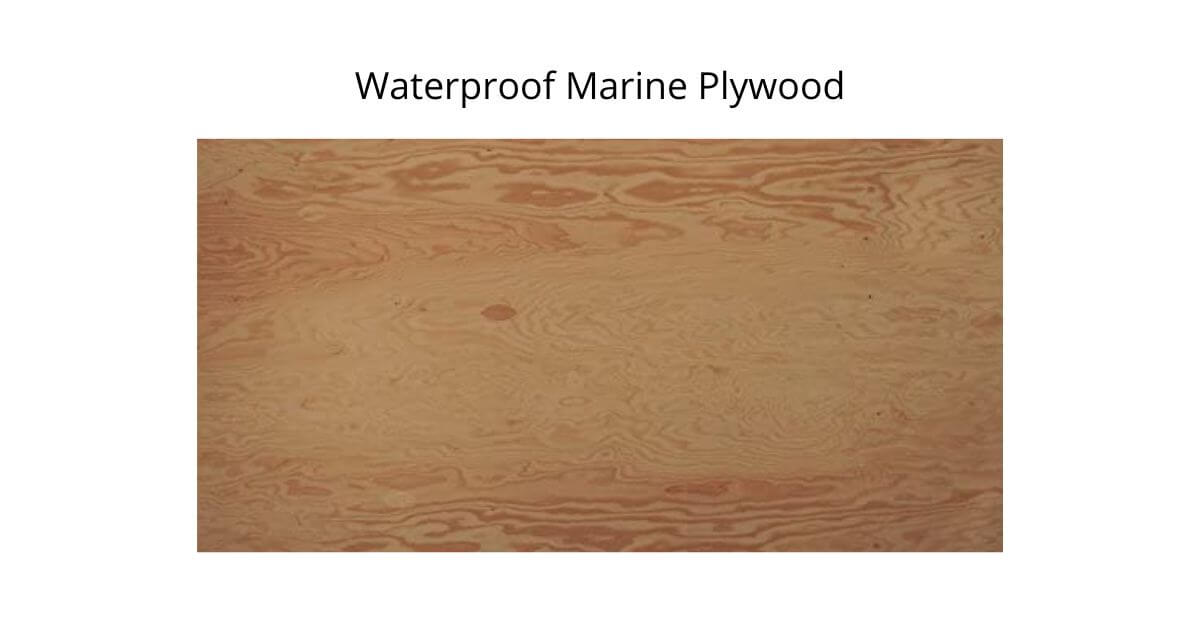
How Waterproof is Marine Plywood
The term Marine Plywood instantly makes you think of how well the product would perform in water. Despite being labeled “Marine,” it will require some works before it is ready to take on Mother Nature.
Step 1: Clean the Surface
To remove grease or other stains, soak a paper towel or soft cloth in acetone and wipe the surface of the wood. Let the acetone 1-2 hours to thoroughly dry..
Step 2: Sand the Wood
Use 80-grit sandpaper to go over the wood’s edges and both sides. With a soft cloth, remove any dust and debris.
Step 3: Apply the First Coat
We picked clear, penetrating epoxy to seal because it penetrates deeply into the wood, dries transparent, and requires less care than other types of sealer.
Start with the top and side edges and work your way to the front face of the wood. Before putting the epoxy on the underside and back of the wood, let it completely set.
Step 4: Add Additional Coats
To increase its longevity, marine plywood must have additional coats because it is thicker. Lightly sand the wood between layers for best adhesion. Before applying the next layer, wipe off any dust.
Can You Stain Marine Plywood
Marine grade plywood is made without any gaps. Waterproof glue that is unaffected by moisture is used to fuse its layers together. You can always stain your own marine grade plywood, even if it is available pre-stained

Step 1 :
Use your electric sander to sand your marine-grade plywood to the bare wood. In order to get a clean surface, sand gently and evenly.
Step 2 :
Use moist paper towels to remove extra sawdust from your plywood.
Step 3:
Give the plywood 5–10 minutes to dry.
Step 4 :
Use your paintbrush to liberally apply stain to the whole plywood side. To prevent streaks, always move your paintbrush in the same direction.
Step 5:
Wipe away any excess discoloration with clean cotton cloths. To prevent spotting, move fast. Before adding more coats of stain, give the stain at least an hour to dry.
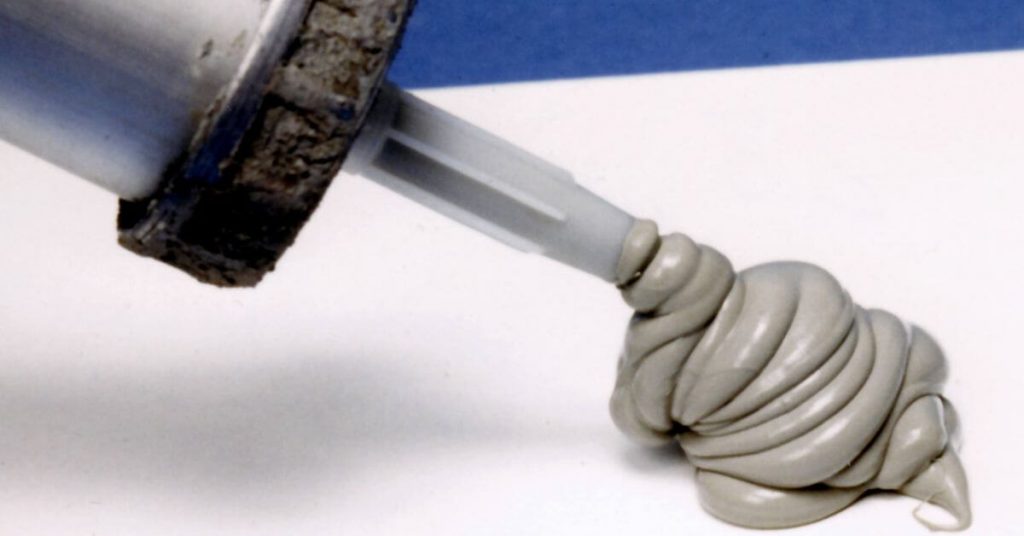
How To Seal On A Boat
You might be tempted to patch up leaking fittings without taking the hardware out. You can never be sure what sort of leaks are present inside a fitting, and if you merely address the symptom, your boat will suffer as a result. To correctly rebed your deck hardware, follow these simple instructions:
Step 1: Unscrew the fitting.
Newer fittings should come off easily. Older fittings may be rusted, necessitating the use of a putty knife to gain leverage and detach the fitting from the boat..
Step 2:Clean the area
To remove old sealants or chemicals, use a solvent and Cleaner. After removing the debris, completely dry the area..
Step 3: Apply your sealant.
This will cure to a flexible substance that you can sand and paint, allowing you to make aesthetic changes to the sealant directly. The final step might be difficult. Here’s exactly how you should apply the sealant:
- Use painter’s tape to corner off the affected area. To prevent extra sealant from being applied to places that don’t require it.
- Apply the sealant evenly. So that the sealant doesn’t spread unevenly when you apply the boat cleat, distribute it equally across the region where you’ll re-bed the hardware
- Put on the cleat. Screw the cleat back into place.
- Get rid of the excess sealant. Scrape off as much sealant as you can starting with your hardware. If any residue remains on the outside, apply Solvent & Cleaner.
Your deck gear ought to operate like new after you’ve rebedded it.
How To Waterproof Screw Holes
Step 1.
Drill out the hole.
Step 2.
Use acetone with pipe cleaner kit to clean hole.
Step 3.
Apply Fame wood, a wood filler, to any screw holes that will be covered by paint. It is completely waterproof, dries quickly, sands easily, and will not shrink. It has a lengthy history and outperforms most other wood filler putties.
Traditionally, any screw holes that will be filled with varnish or another relatively weak glue are sealed with bungs made of the same wood. If repairs are needed, the bung and screw can be removed later. Take care not to push too hard
Step 4.
After all holes have been filled and sanded smooth. We’ll seal it with a layer of transparent epoxy.
Step 5.
Sanding again apply paintthe surface improves sealant adherence.
To make your sailing adventures noteworthy, you’ll need a great finish.
Conclusion
Did this lesson give you the confidence you needed to watertight your wooden boat? The more waterproof, the safer boat- your boat your responsibility. Waterproofing your boat allows you to enjoy taking it on trips. Happy voyage!